So, a mom who sews naturally offered to make him a pouch. After the mustache print was approved, I got to work. And here's a simple tutorial for you if you want to make one.
Cutting:
Two 6” x 3 5/8” exterior fabric
Two 6” x 3 5/8” lining fabric
Two 2” x 1” zipper tabs
Two 5 1/4” x 3 1/2” fusible batting
One 4” or 5" zipper
One 1 1/2” ribbon (optional)
Center the batting on the back of exterior fabric and quilt. I quilted simple straight lines.
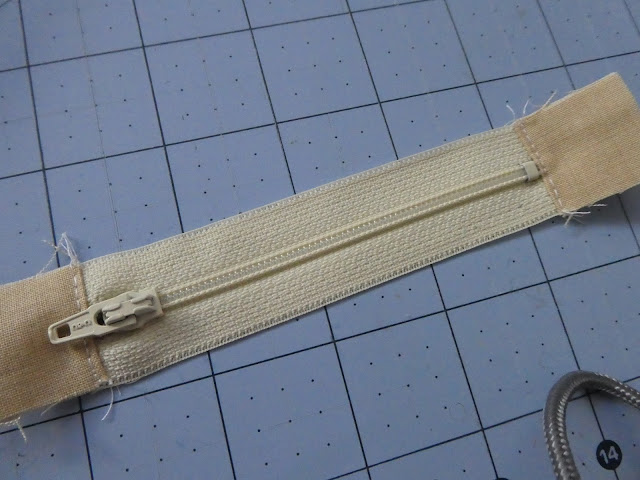
Fold the zipper tabs in half, then open it up and line up the fold line on the ends of the zipper. Sew on the fold line, then fold the tabs and top stitch along the fold to reinforce the stitch. You can clip the zipper end (not the zipper tab we just sewn) if it's too long. Make sure you leave at least 1/4" seam!
Next, put your exterior on the bottom with right side up, put your zipper along the top side of exterior with right side down, last put your lining fabric on top with right side down. All line up at the top edge. (see picture above). Pin and sew 1/4" seam using your zipper foot for your sewing machine. Fold back the exterior and lining fabric. Repeat the other side. Picture below is what it looks like. Add your ribbon to the side of the exterior fabric if you like at this point.
Next step, open your zipper. Then put the linings right sides together and the exteriors right side together and pin to keep them in place. You will sew around the whole pouch with 1/4" seam, leave 3" opening in the middle of the lining for turning. Not sure if you can see it clearly, but it's that blue line I drew around the edges on the picture above.
Turn your pouch right side out through the lining opening and the zipper opening. Then hand stitch or machine top stitch the lining opening close! YOU DID IT!!
Give your final product a pressing and it's ready for the recipient!


No comments:
Post a Comment